Start with one best seller
Turn the Studio on for the product that already sells best, set its print areas and its price, and watch the first orders arrive. When that product runs smoothly, turn the Studio on for a collection or the whole catalog with the same setup.
Print areas carry real sizes
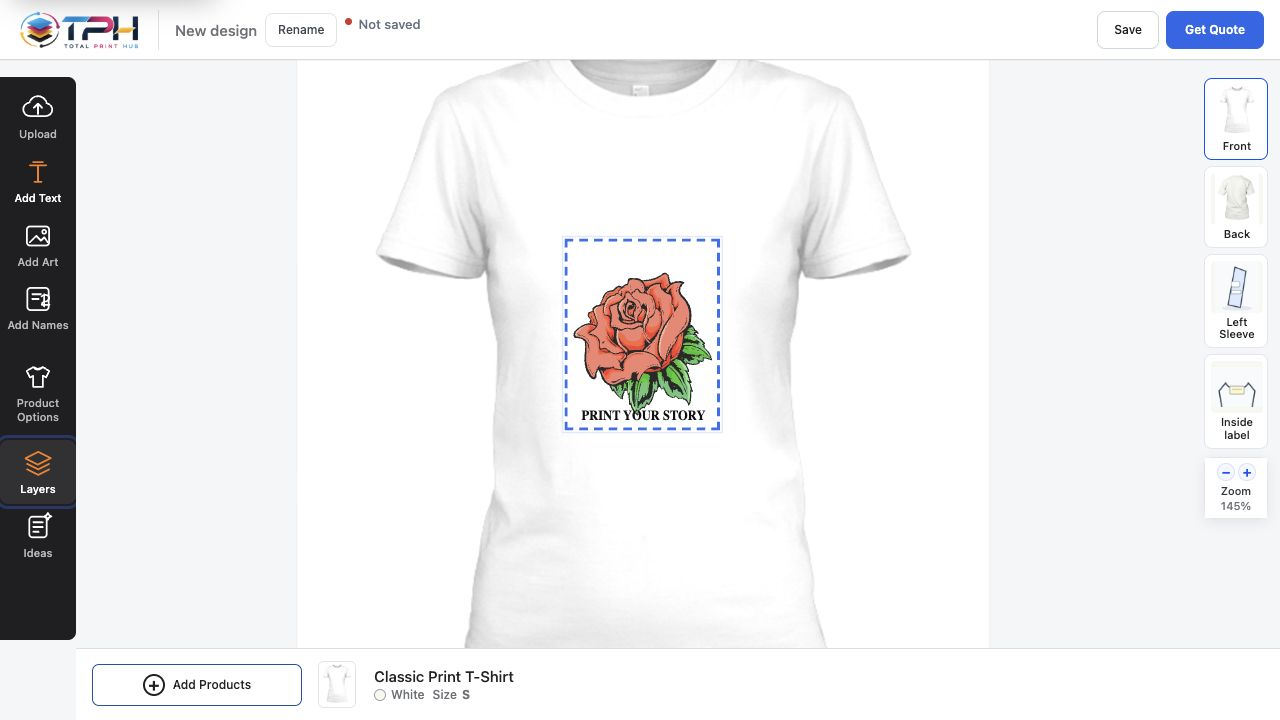
Every print area has its real size in inches, so the customer designs at the size you will print and the print file comes out at true size, one per print area. Choose which sides are printable and which decoration methods each area uses: embroidery, screen print and DTF each keep their own rules for colors and sizes.
Uploads that print well
Customers upload what they have: PNG, JPG, SVG, PDF, PSD, TIFF, WebP, GIF, BMP, AVIF, HEIC or AI files. Each upload's resolution is checked at the size it will print, and the customer can remove a background, upscale or crop it in the Studio, so a logo cut from a photo reaches you clean instead of as a box on a shirt.
Phones as well as desktops
When a shopper opens your product page on a phone, the same Studio opens there, with touch controls sized for fingers on phones and tablets. You do not maintain a second, simpler designer for mobile shoppers.
Give customers a head start
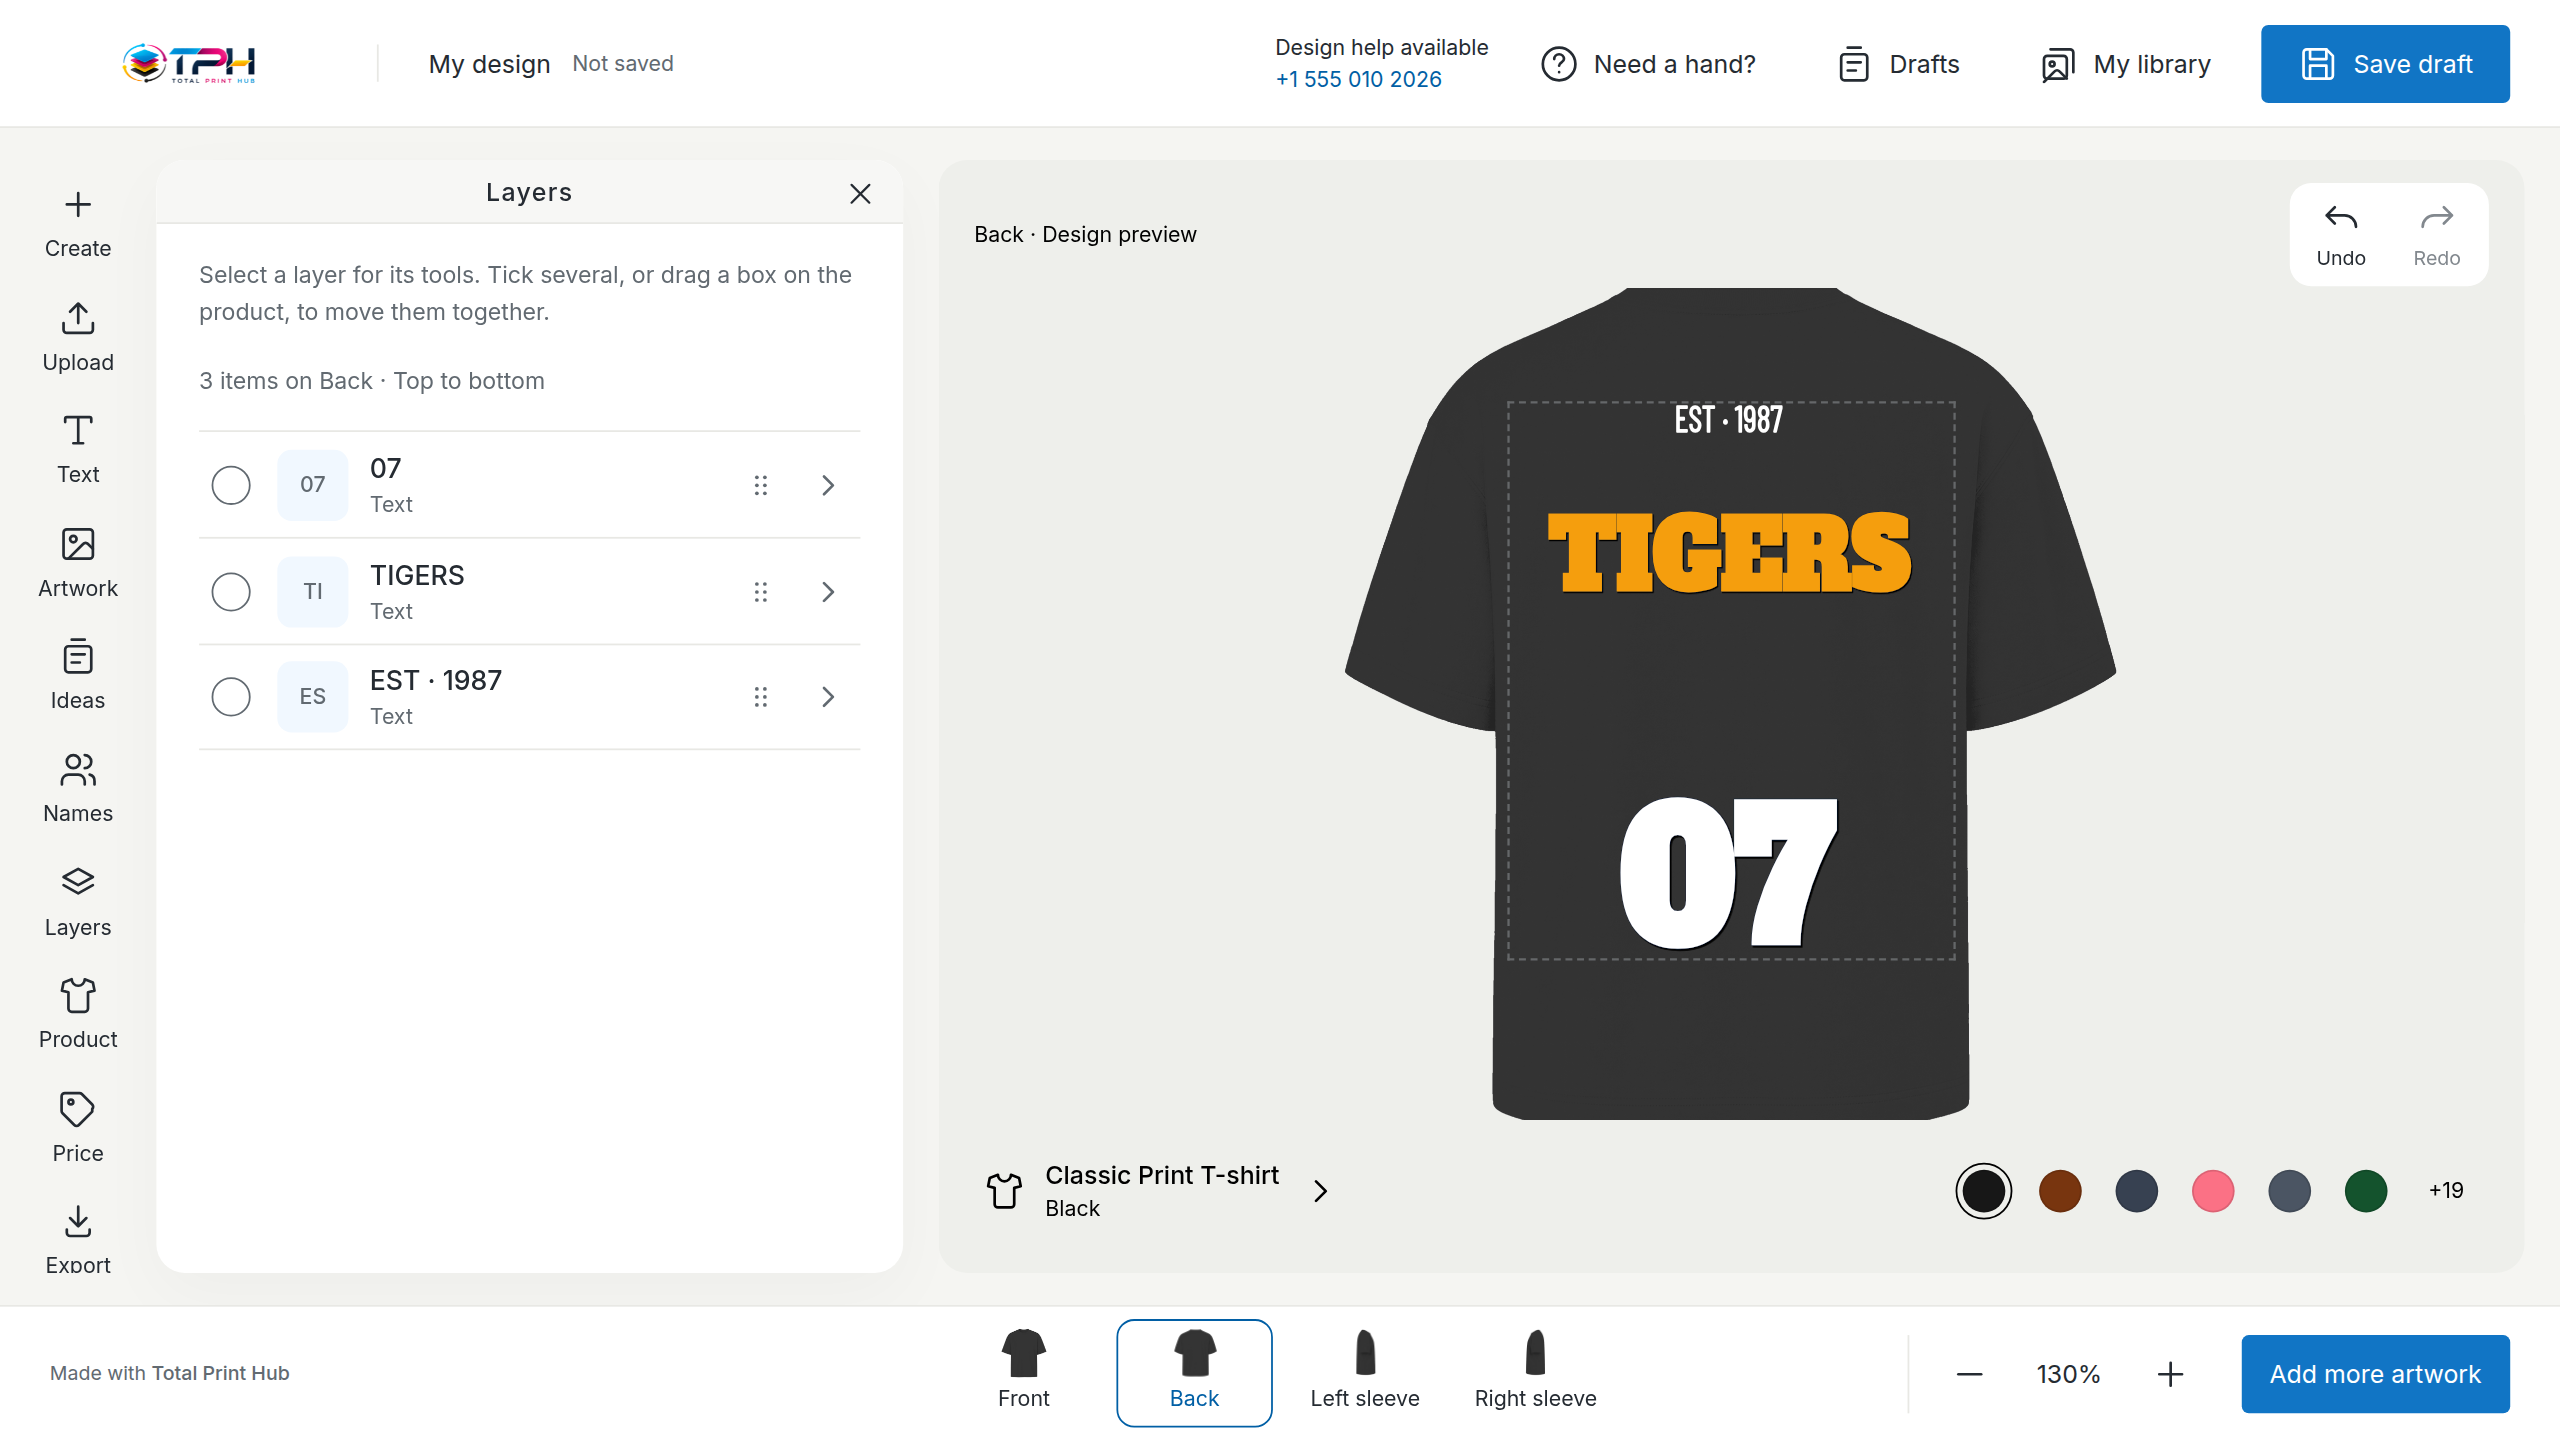
Customers finish faster when they do not start from an empty shirt. Publish starting designs, offer a clip-art library and your own font and color libraries, including your brand colors. Team orders use names and numbers: one design, a list of names and numbers, priced as their own line.
Prices customers can see while they design
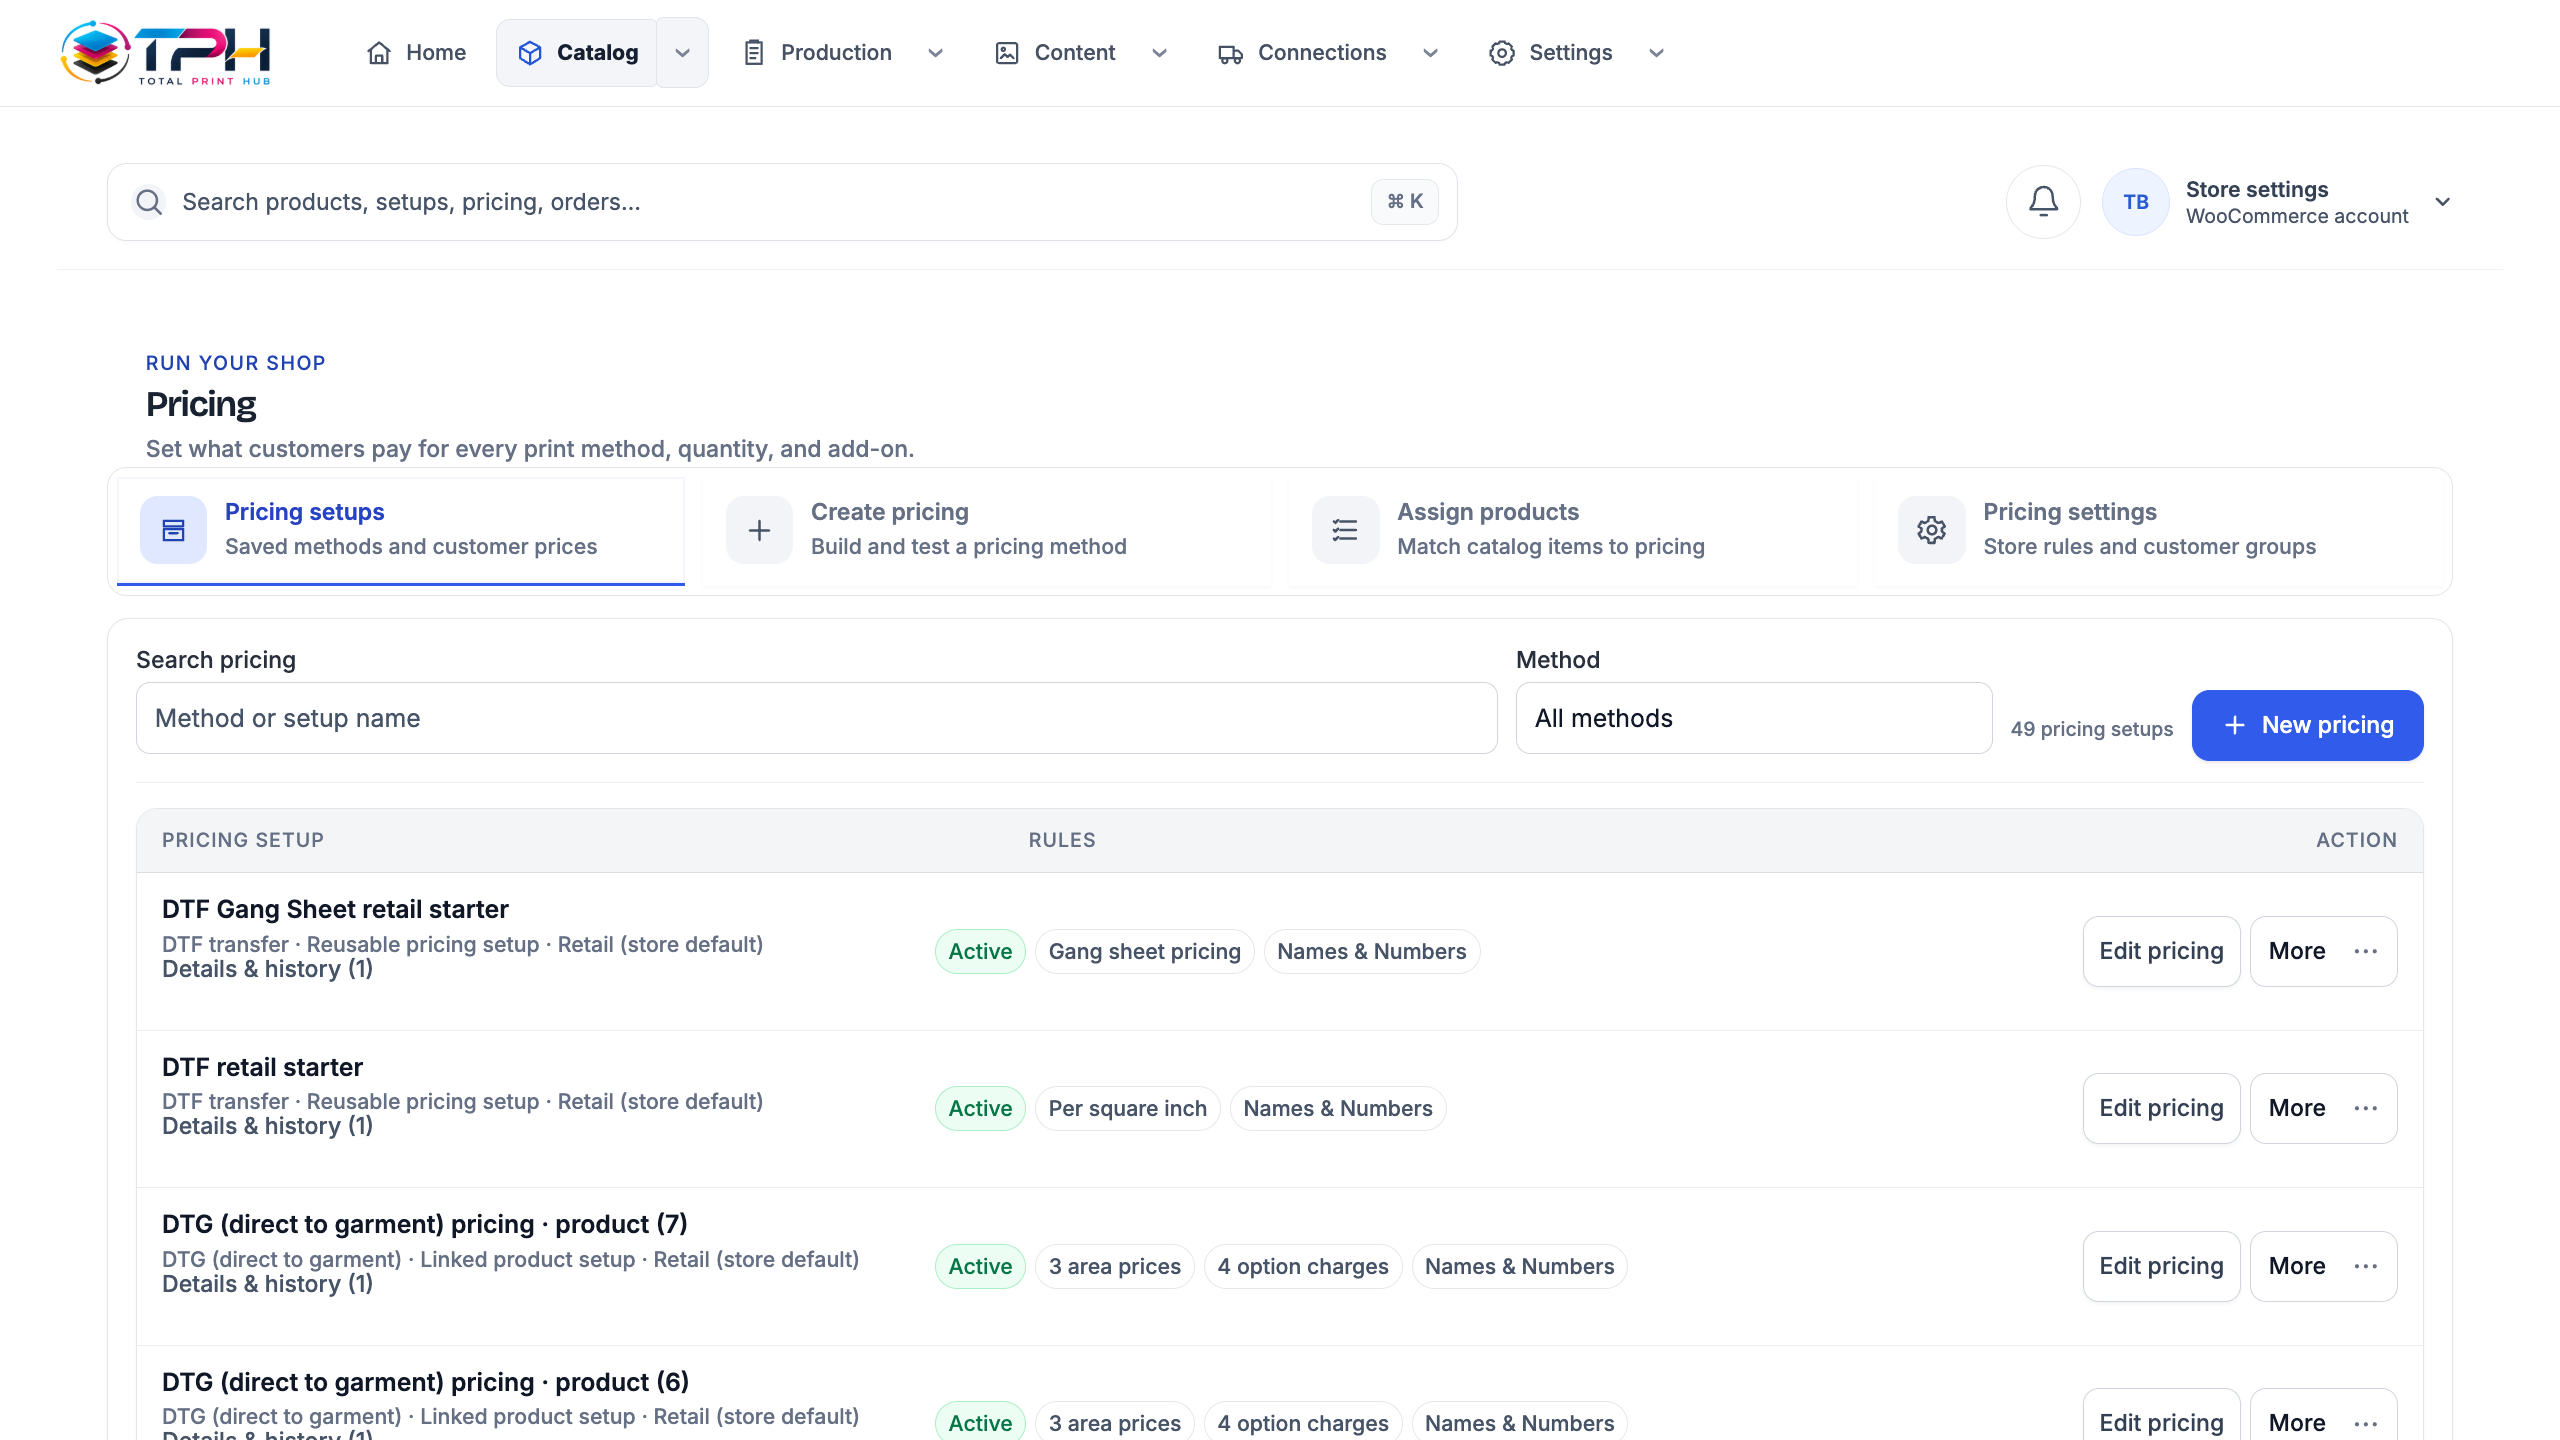
Price by print area, print size, color count or stitches. One pricing setup covers every product that uses it, the price updates as the customer designs, and the cart line carries the same price, so no order needs a manual quote afterwards.
Saved designs bring customers back
Saved and ordered designs are listed under My designs in the Studio and reopen on the same product. A customer can stop halfway and finish later, or come back next season to the design they already ordered.
 Total Print Hub